Pivot door installation videos
On this page you find all the information you need related to the installation of a pivot door with a System M+ or System M pivot hinge system.
Depending on the top pivot of your choice – TP-40, TP-70 or TP-R – the installation and fine-tuning of the door slightly differs. Choose the right video for your situation below.
Installation in four steps
The installation of a pivot door with System M+ and System M roughly consists of the same four steps.
1 Mount the floor plate
2 Mount the ceiling plate
3 Place the door
4 Fine-tune the door
Installation video of System M/M+ and TP-70
Installation video of System M/M+ and TP-40
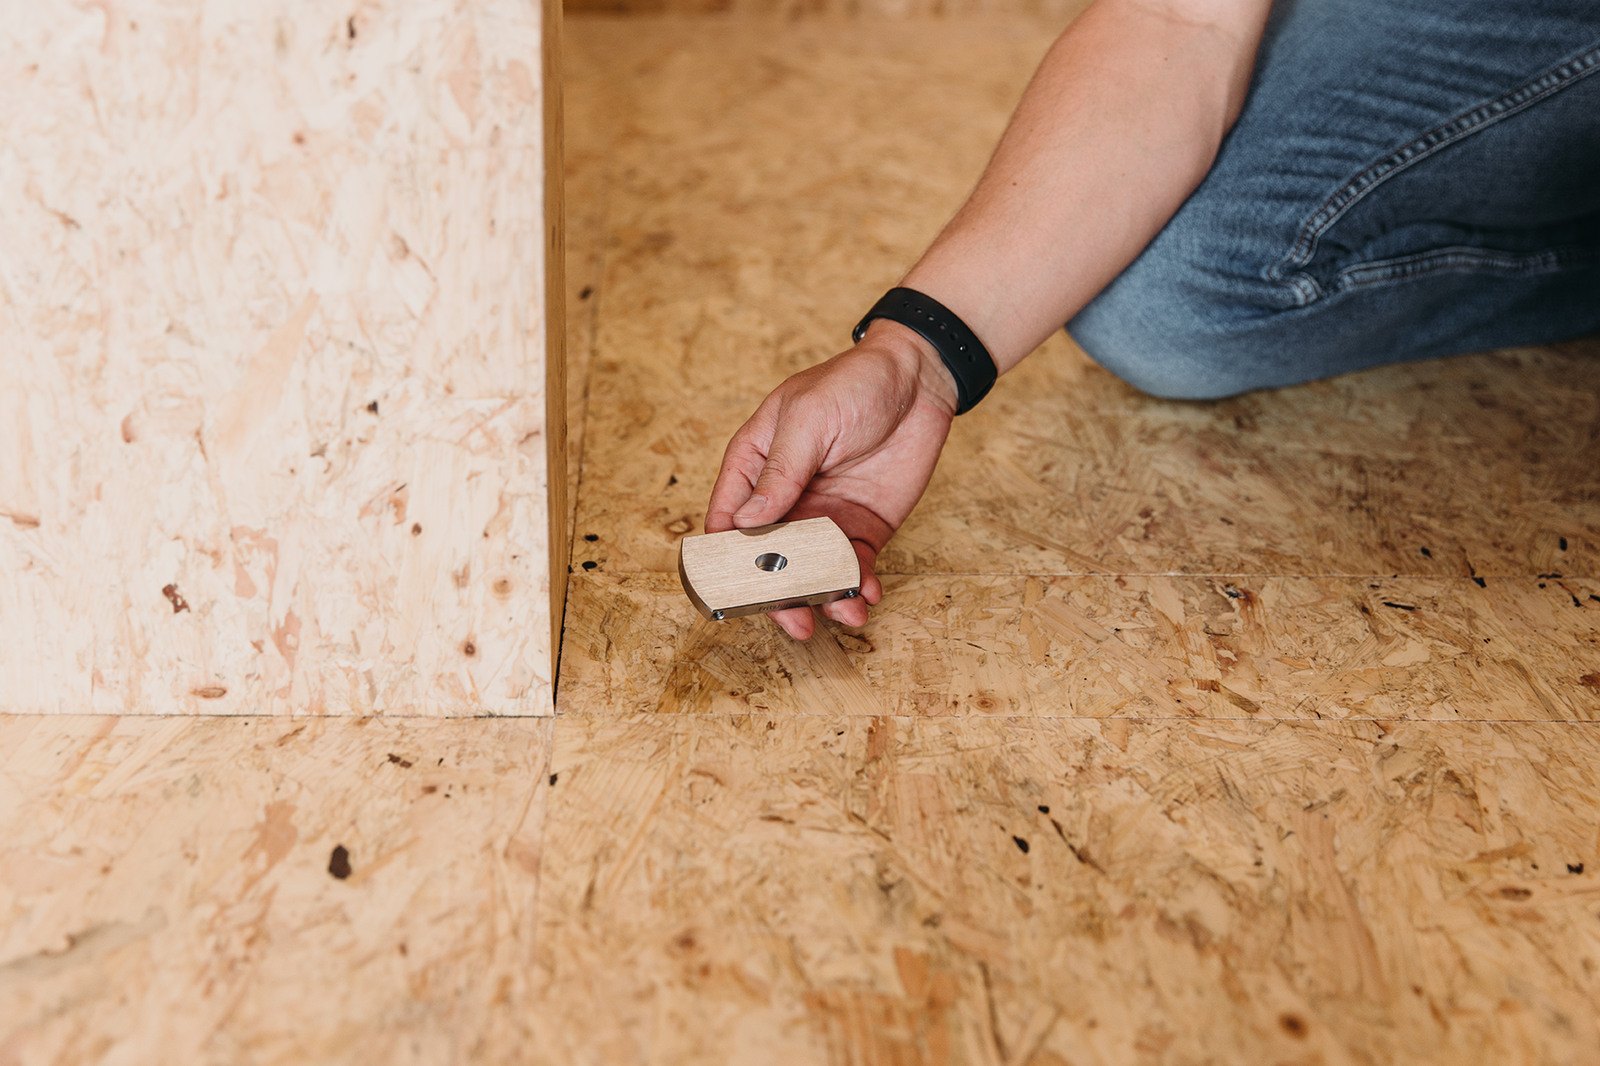
1. Mount the floor plate
FritsJurgens’ floor plates can be placed on a single floor type, but on two different floor types as well. When mounting the floor plate, the drilling template is used to determine the placement of the 8 mm spindles on the bottom of the floor plate.
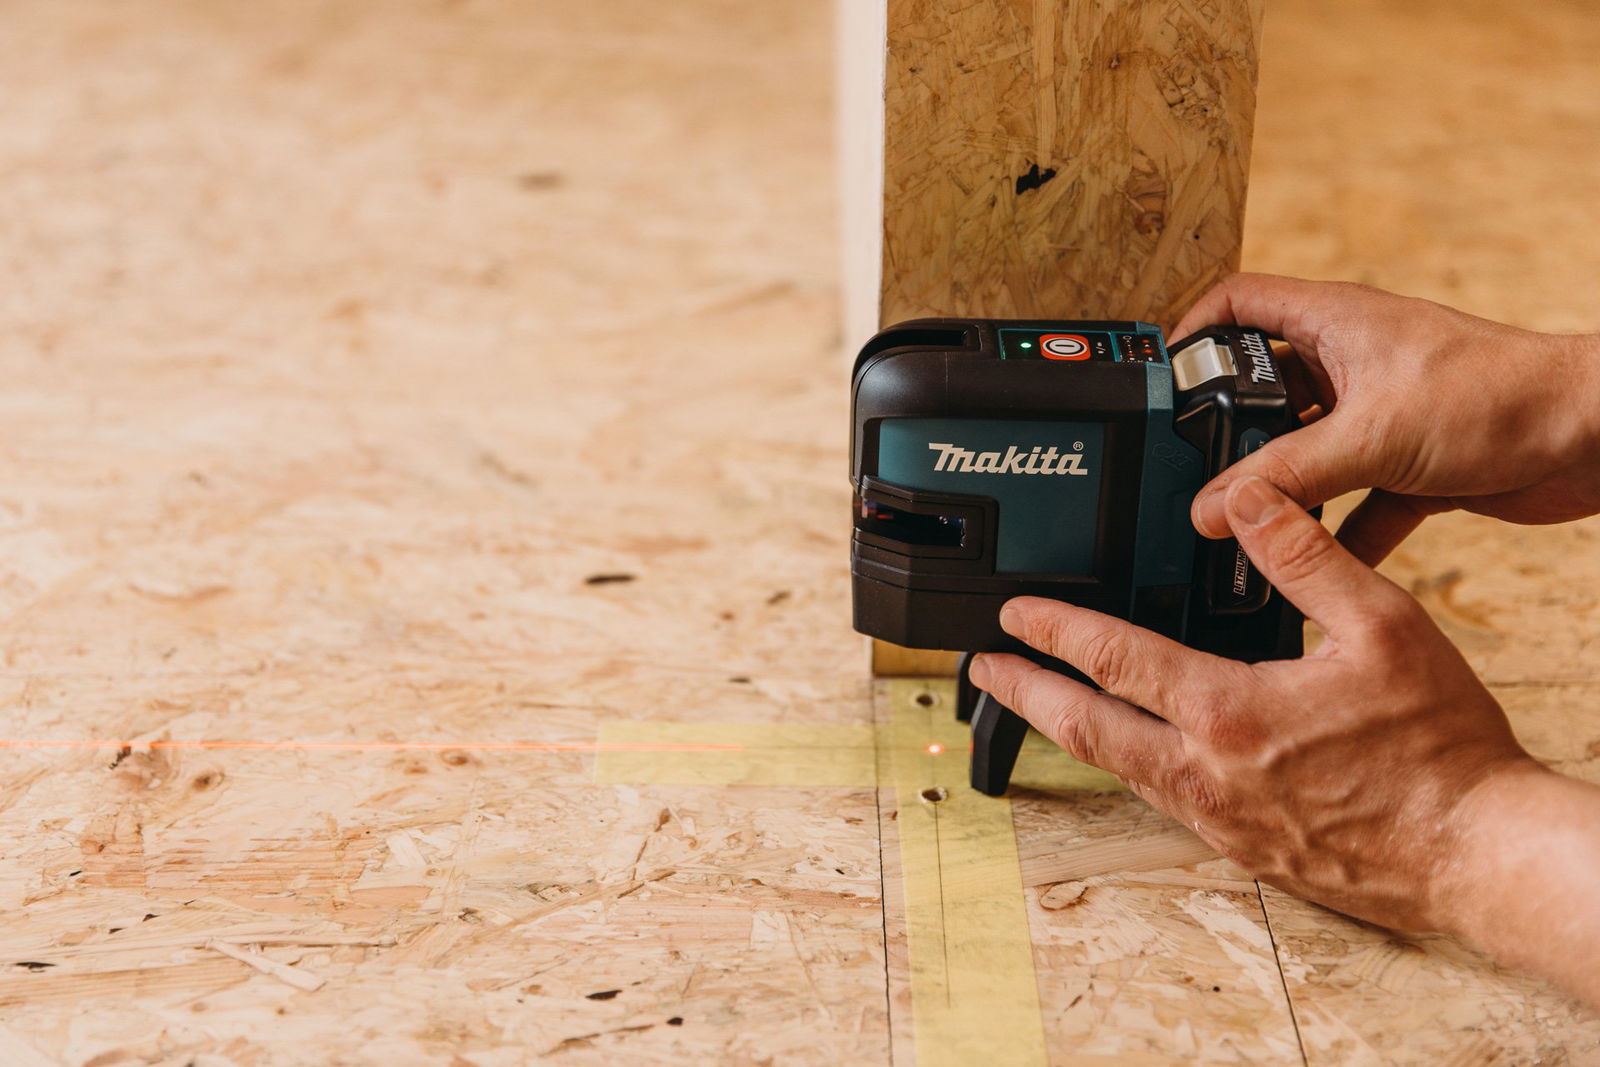
2. Mount the ceiling plate
The ceiling plate position can easily be determined by using a point laser.
Important: this way of installing applies to Top pivot 40 mm (TP-40) and Top pivot 70 mm (TP-70). The installation of your ceiling plate is different when Top pivot Reversed (TP-R) is applied because this system is mounted in the ceiling or door head instead of in the top of the door.
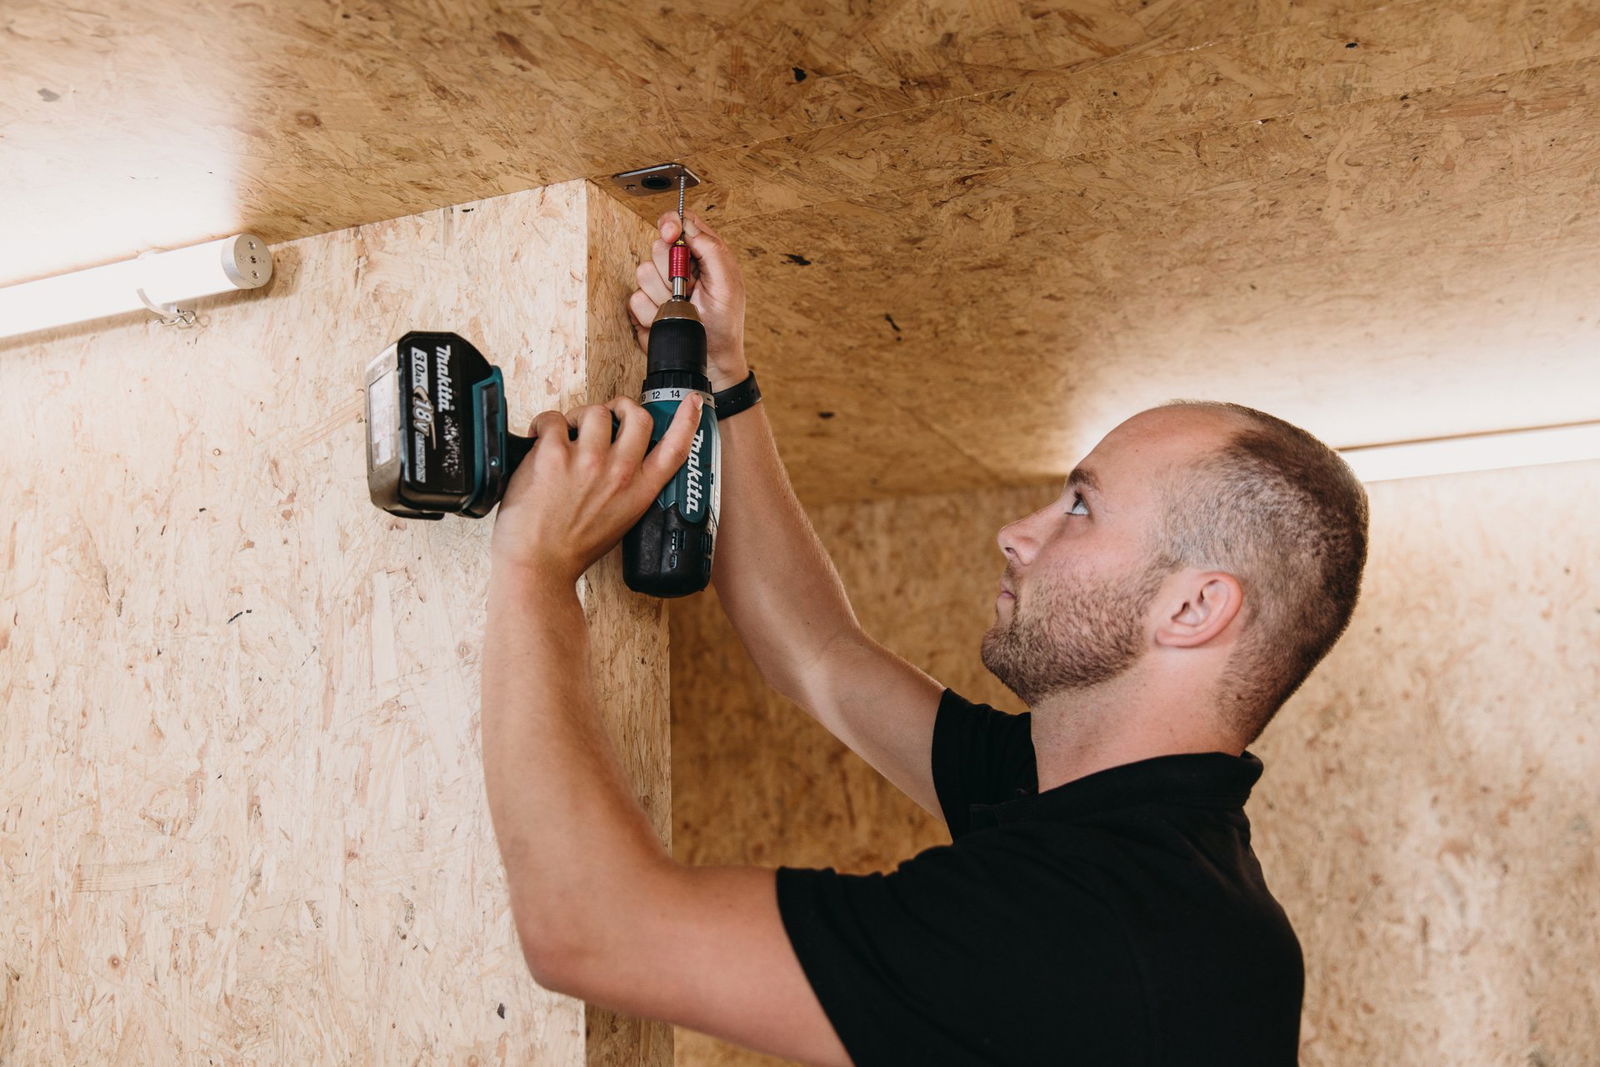
The hole for the tube on top of the ceiling plate is drilled, and the screws can be pre-drilled. The top of the ceiling plate is covered with glue and can then be affixed on the ceiling. Lastly, the plate is affixed with screws as well to secure it.
3. Mount the door
The door can easily be placed by first lifting the oval spindle on the System M+ or System M into the notch in the floor plate. It is important that the door is placed in its open position, so the oval spindle should be rotated into that direction. The Axle Wrench is a useful accessory to accomplish this.
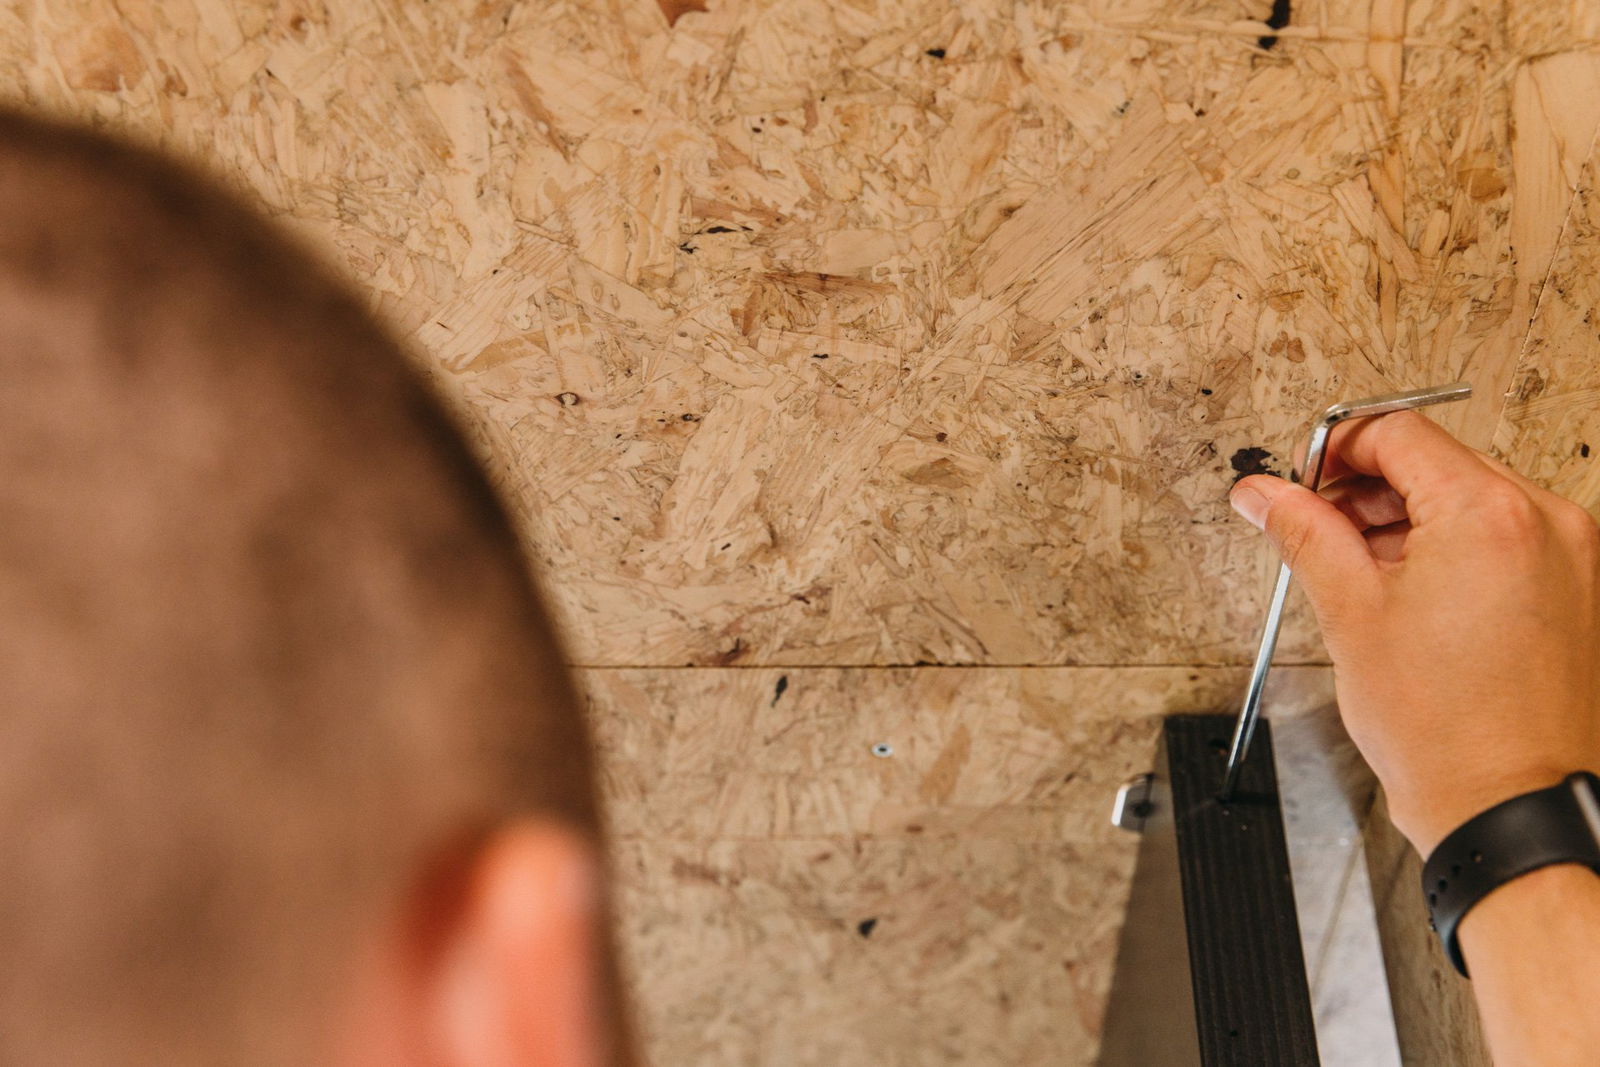
After the door is placed on the floor, the top pivot is extended by turning the included hex key in the bottom hole at the top of the door eight times (TP-40 & TP-70) or sixteen times (TP-CG).
Important: this way of installing applies to Top pivot 40 mm (TP-40) and Top pivot 70 mm (TP-70). When Top pivot Reversed (TP-R) is applied, the spindle is rotated downward (from the top pivot in the ceiling or door head) into the receiver in the top of the door – reversed.
4. Fine-tune the door
Both the door’s placement and movement can be fine-tuned when you’ve applied System M+ or System M.
Radial position
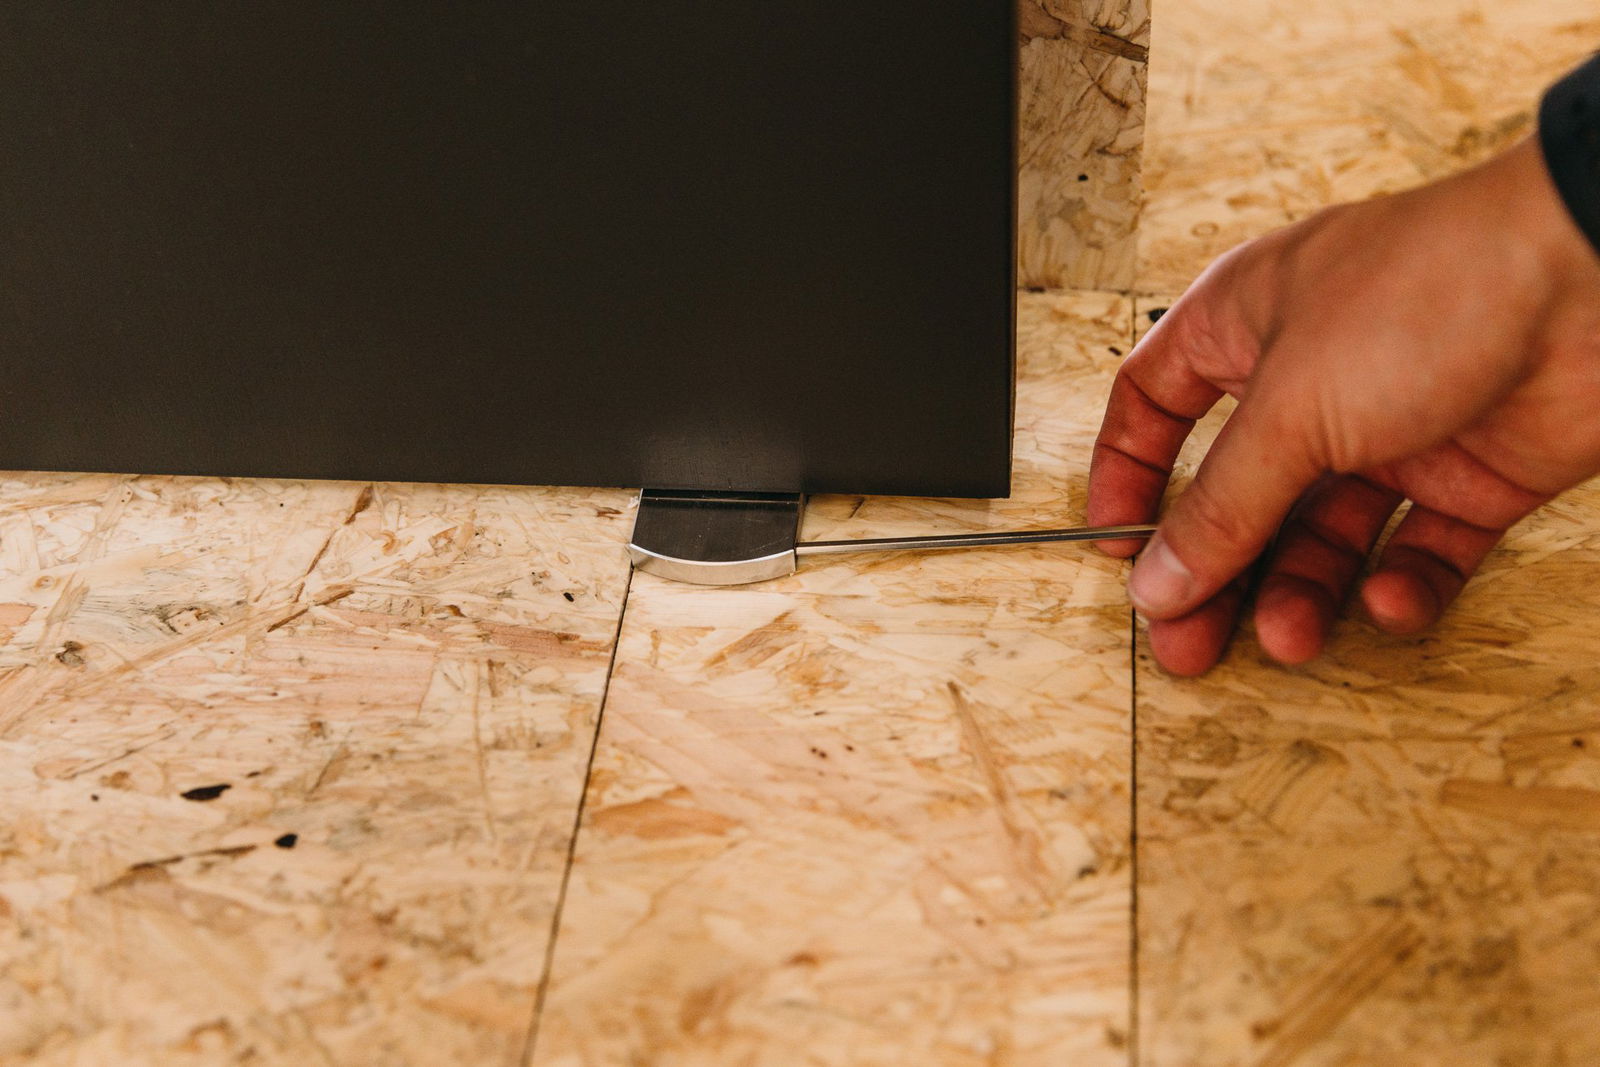
Fine-tuning the radial position allows you to move the door 2,5 degrees forward or backward to make the door flush in the wall or frame. The radial position is adjusted on the floor plate.
Closing seam
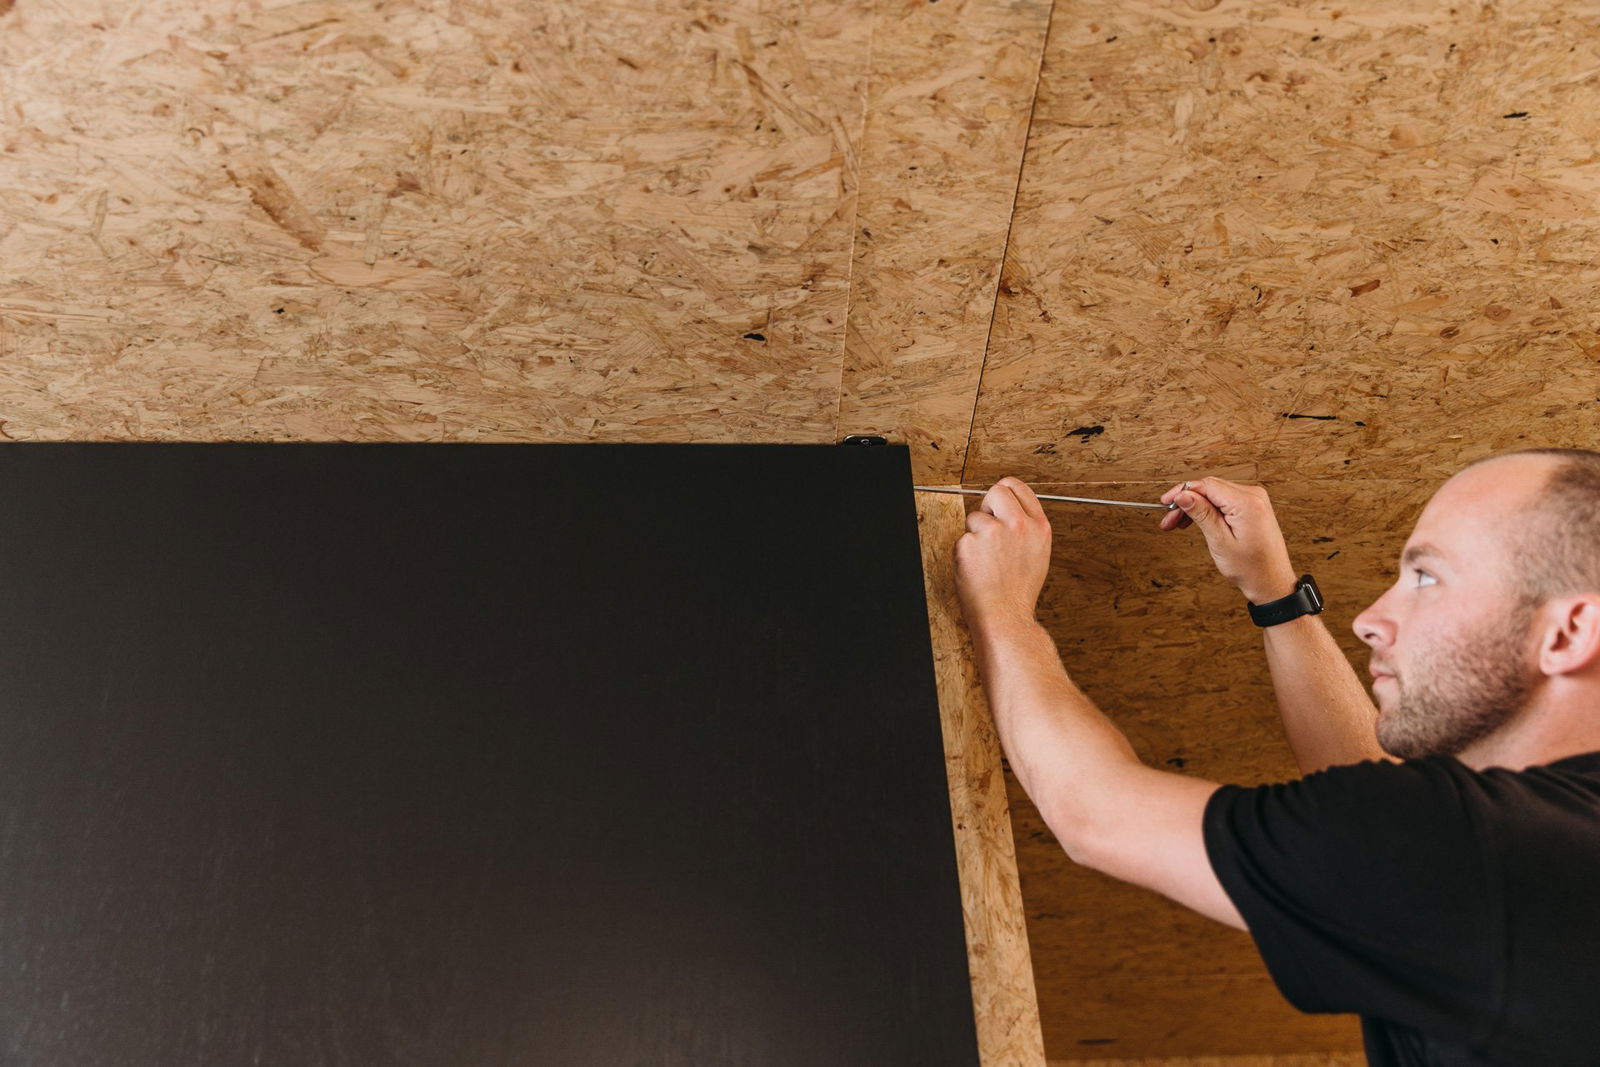
You can now fine-tune the door’s closing seam. This is done by accessing the top pivot through the top hole in the door.
Important: this way of fine-tuning applies to Top pivot 40 mm (TP-40) and Top pivot 70 mm (TP-70). When Top pivot Reversed (TP-R) is applied, this screw is located on the bottom of the system in the door or door head.
Movement
Fine-tuning the movement of the door is different for System M and System M+. System M+ has two extra fine-tuning options for the door’s movement, which is why this step is slightly different between these systems.
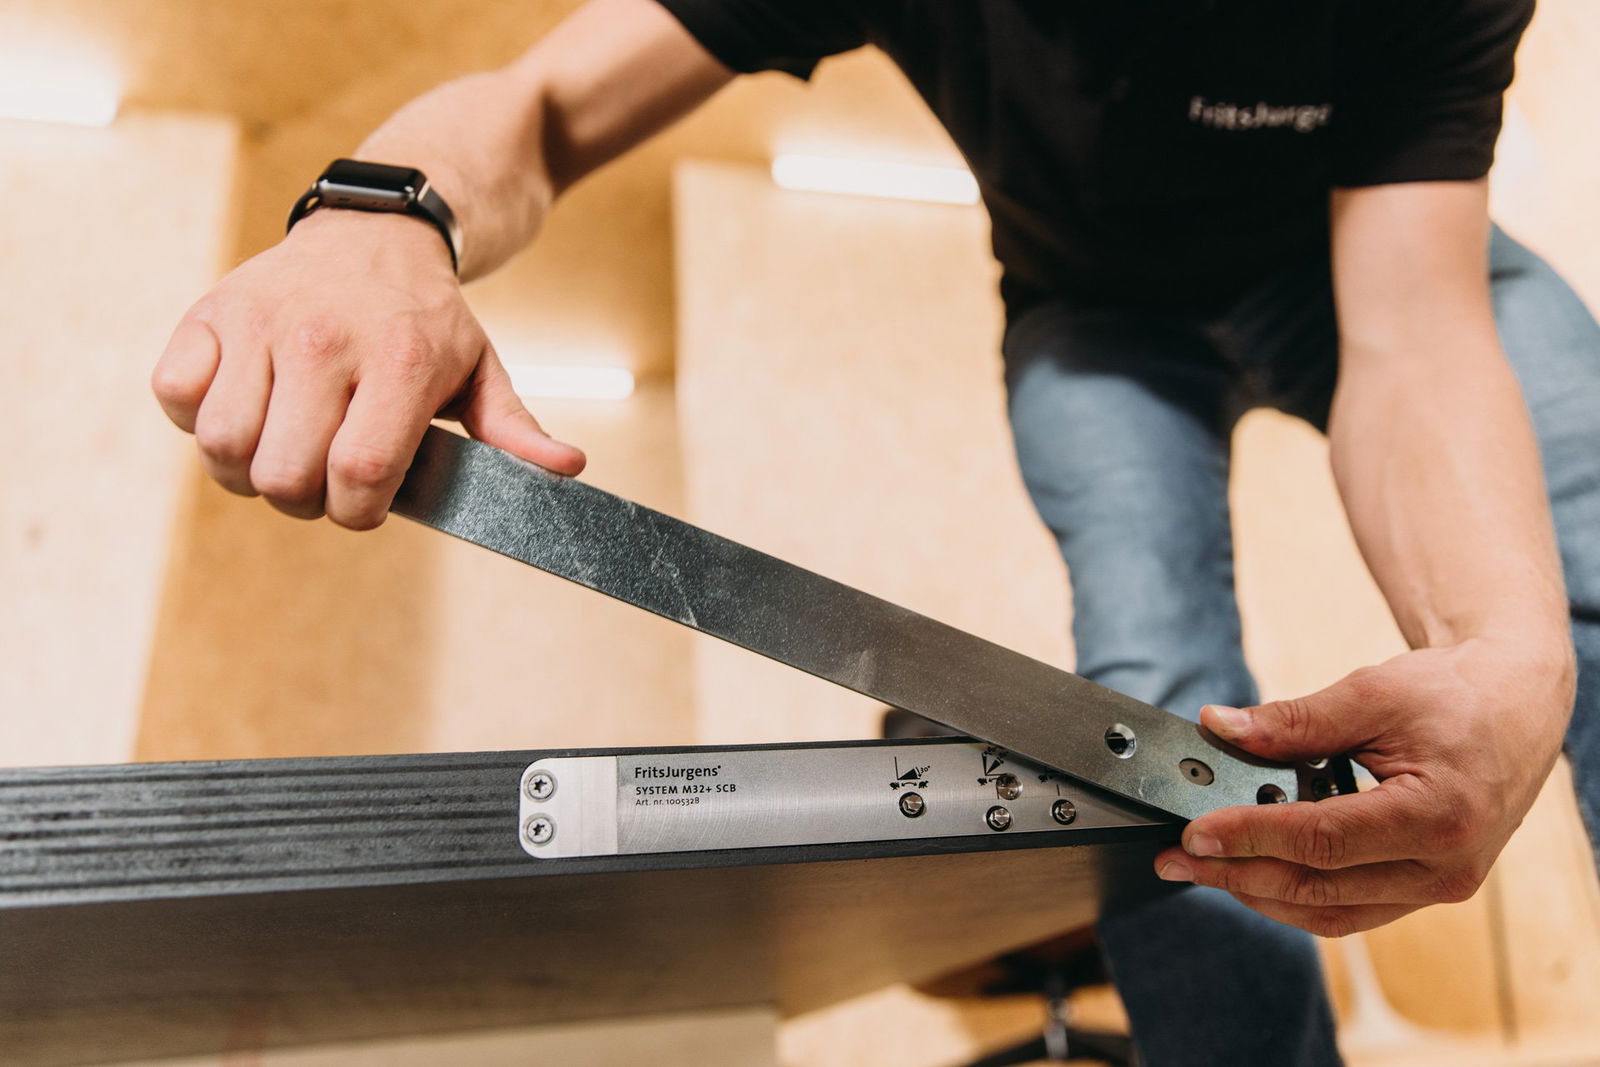
System M has adjustable Damper Control, System M+ has adjustable Damper Control, 30° Speed Control, and Latch Control.
System M
Damper Control allows you to fine-tune the hydraulic backcheck and the soft-close of your pivot door when System M is applied.
System M+
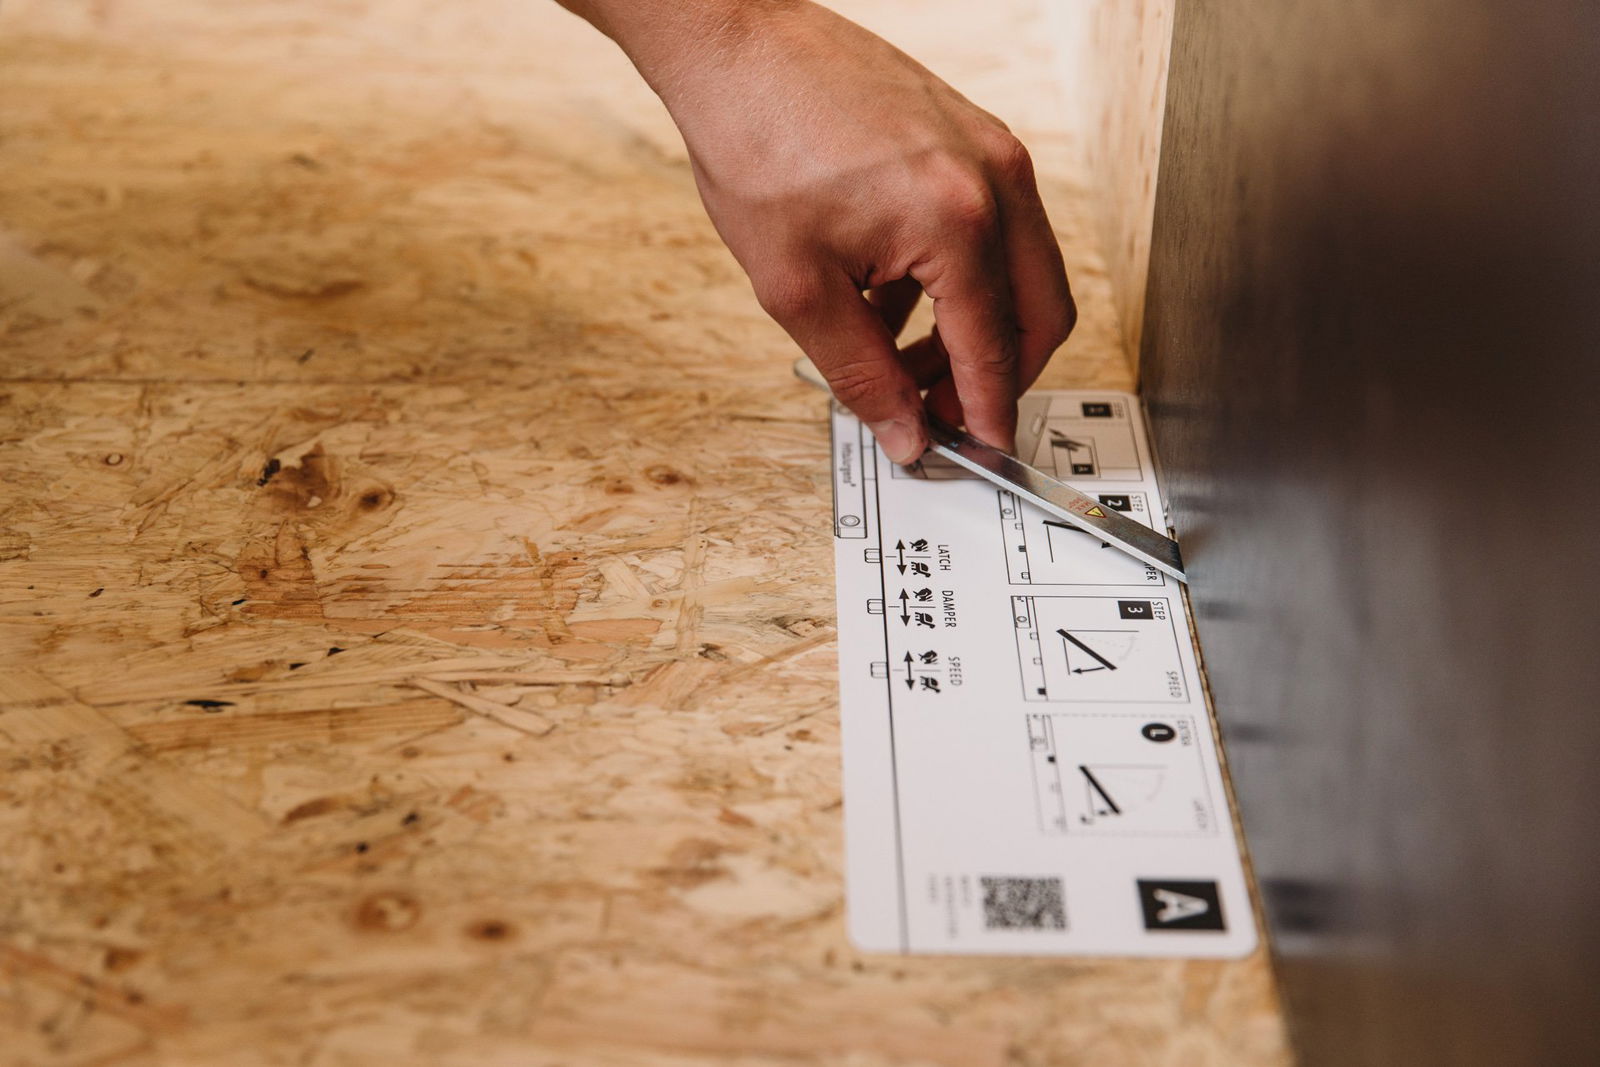
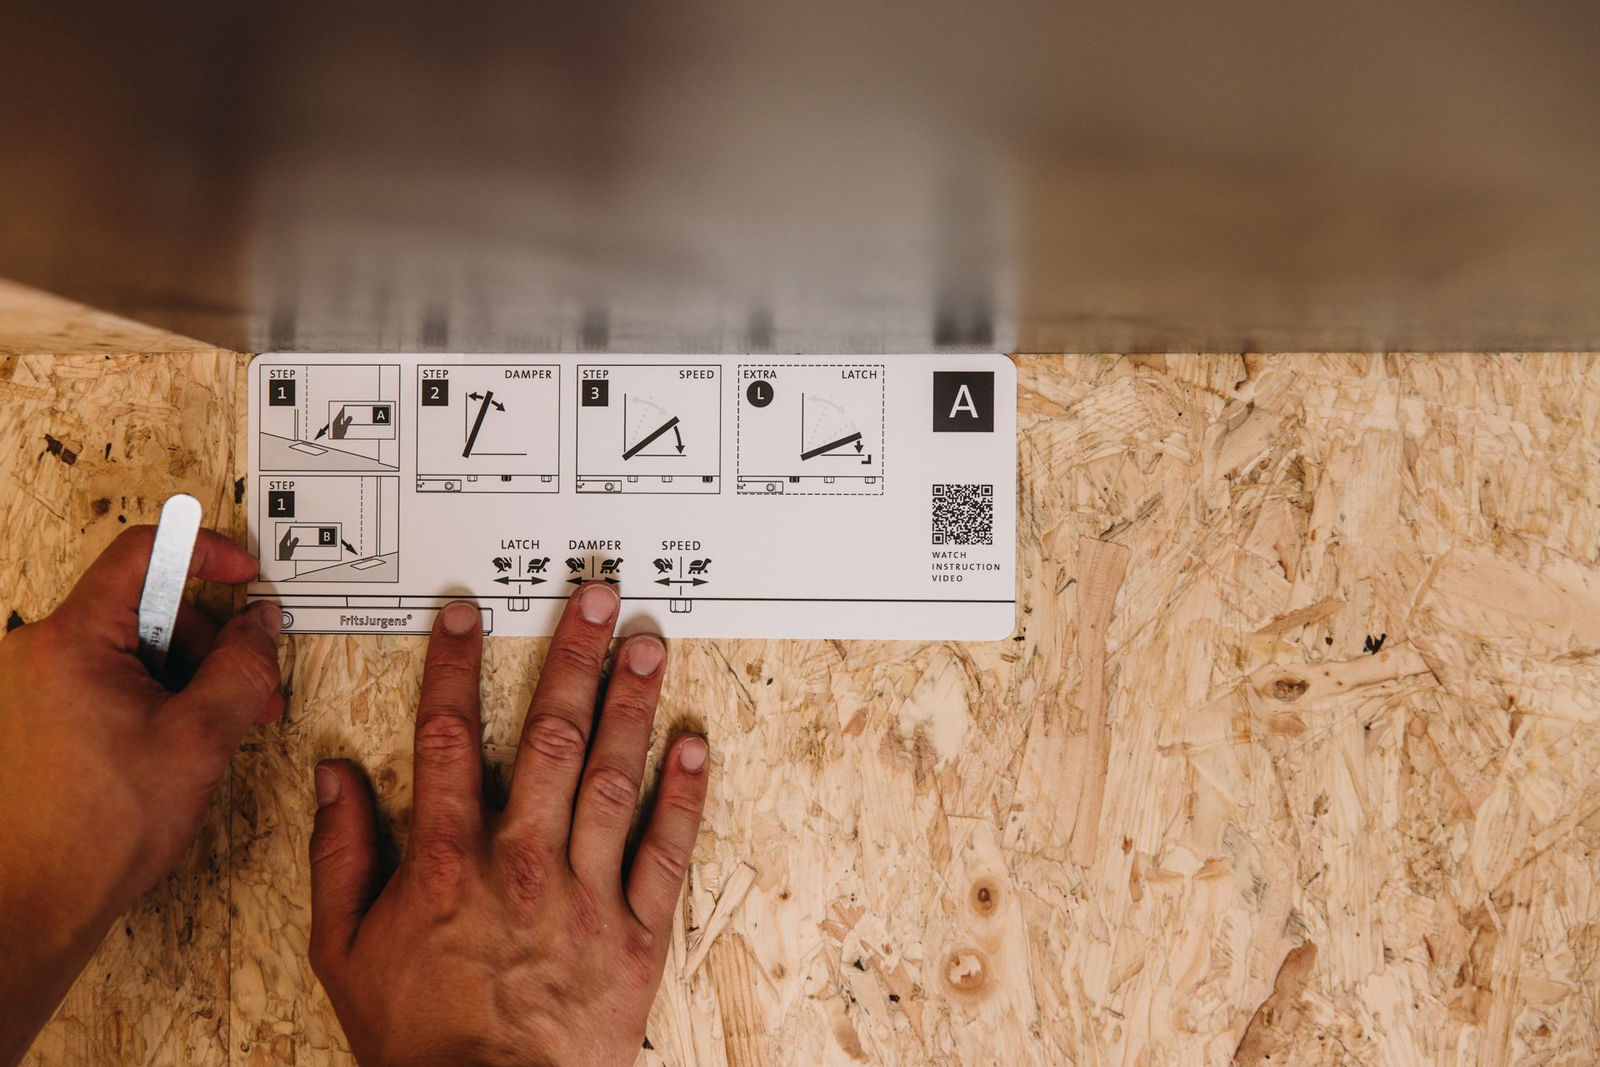
System M+ offers more adjustability controls to determine a more precise door closing and opening movement. You can use the fine-tune card to adjust the three different screws on the bottom side of the pivot door to adjust Damper Control, 30° Speed Control, and Latch Control.
Step 1: Lay down fine-tuning card
Step 2: Damper Control
Damper Control allows you to fine-tune the hydraulic backcheck and the soft-close of your pivot door.
Step 3: 30° Speed Control
30° Speed Control allows you to determine the door’s speed in the last 30 degrees of the door movement.

Extra step: Latch Control
If your door has a latching bolt, Latch Control might help your pivot door gain the necessary speed to properly latch. Latch Control gives the door extra speed in the last degrees of the movement, ensuring enough power to latch.