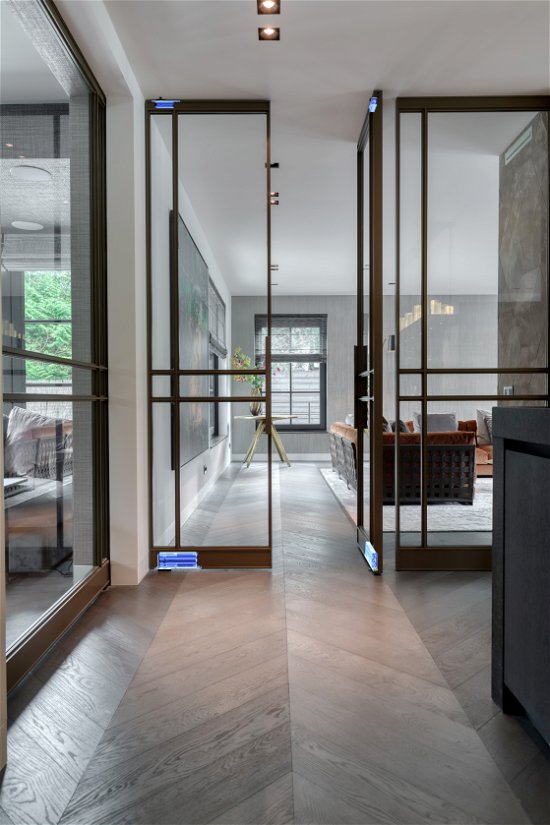
In a just a few years, pivot doors have gone from rarely seen to being in-demand by architects, door manufacturers and installers looking to lighten and animate their spaces. Pivot doors outfitted with FritsJurgens hardware provide an easy-to-install and flexible solution for combining unlimited pivot door designs with incredible ease of installation.
The recent adoption of the pivot door can be attributed to its inherent aesthetic and functional advantages. Yet, ultimately it was innovation of the pivot hardware that made the installation of these doors faster and easier. These factors are currently accelerating the global desire for using pivot doors everywhere.
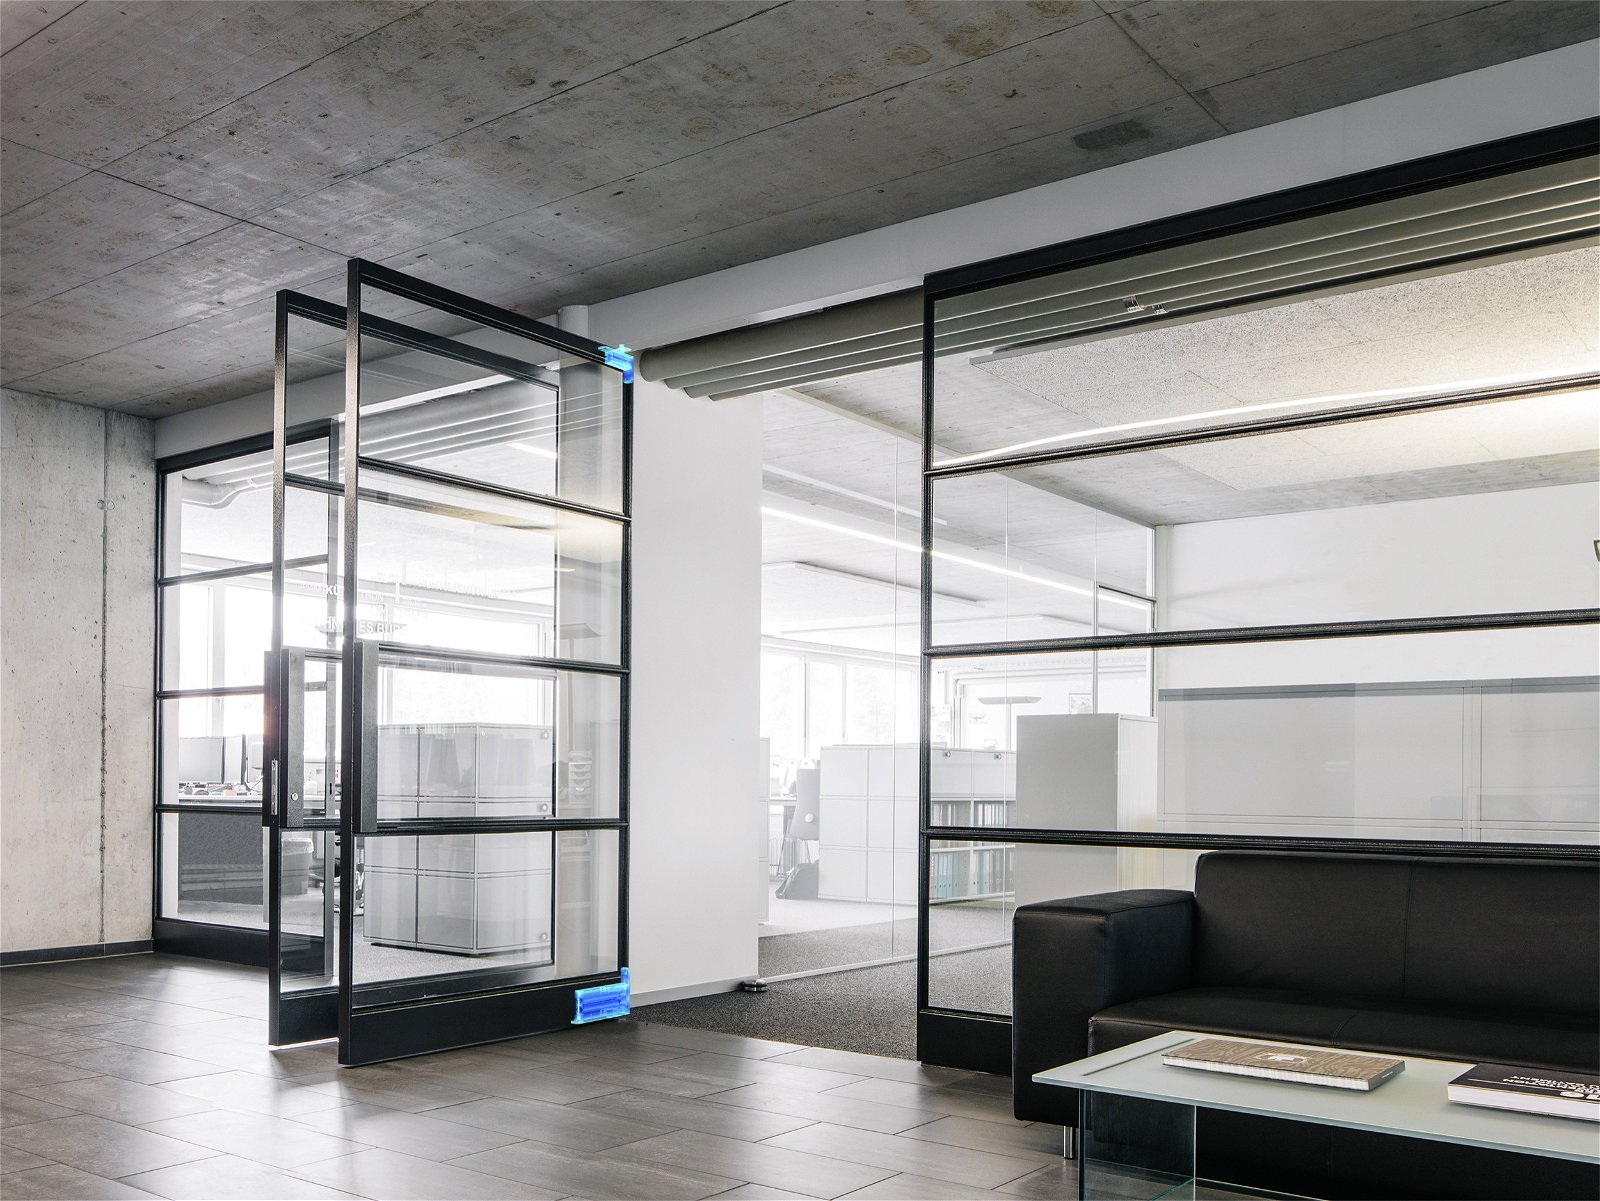
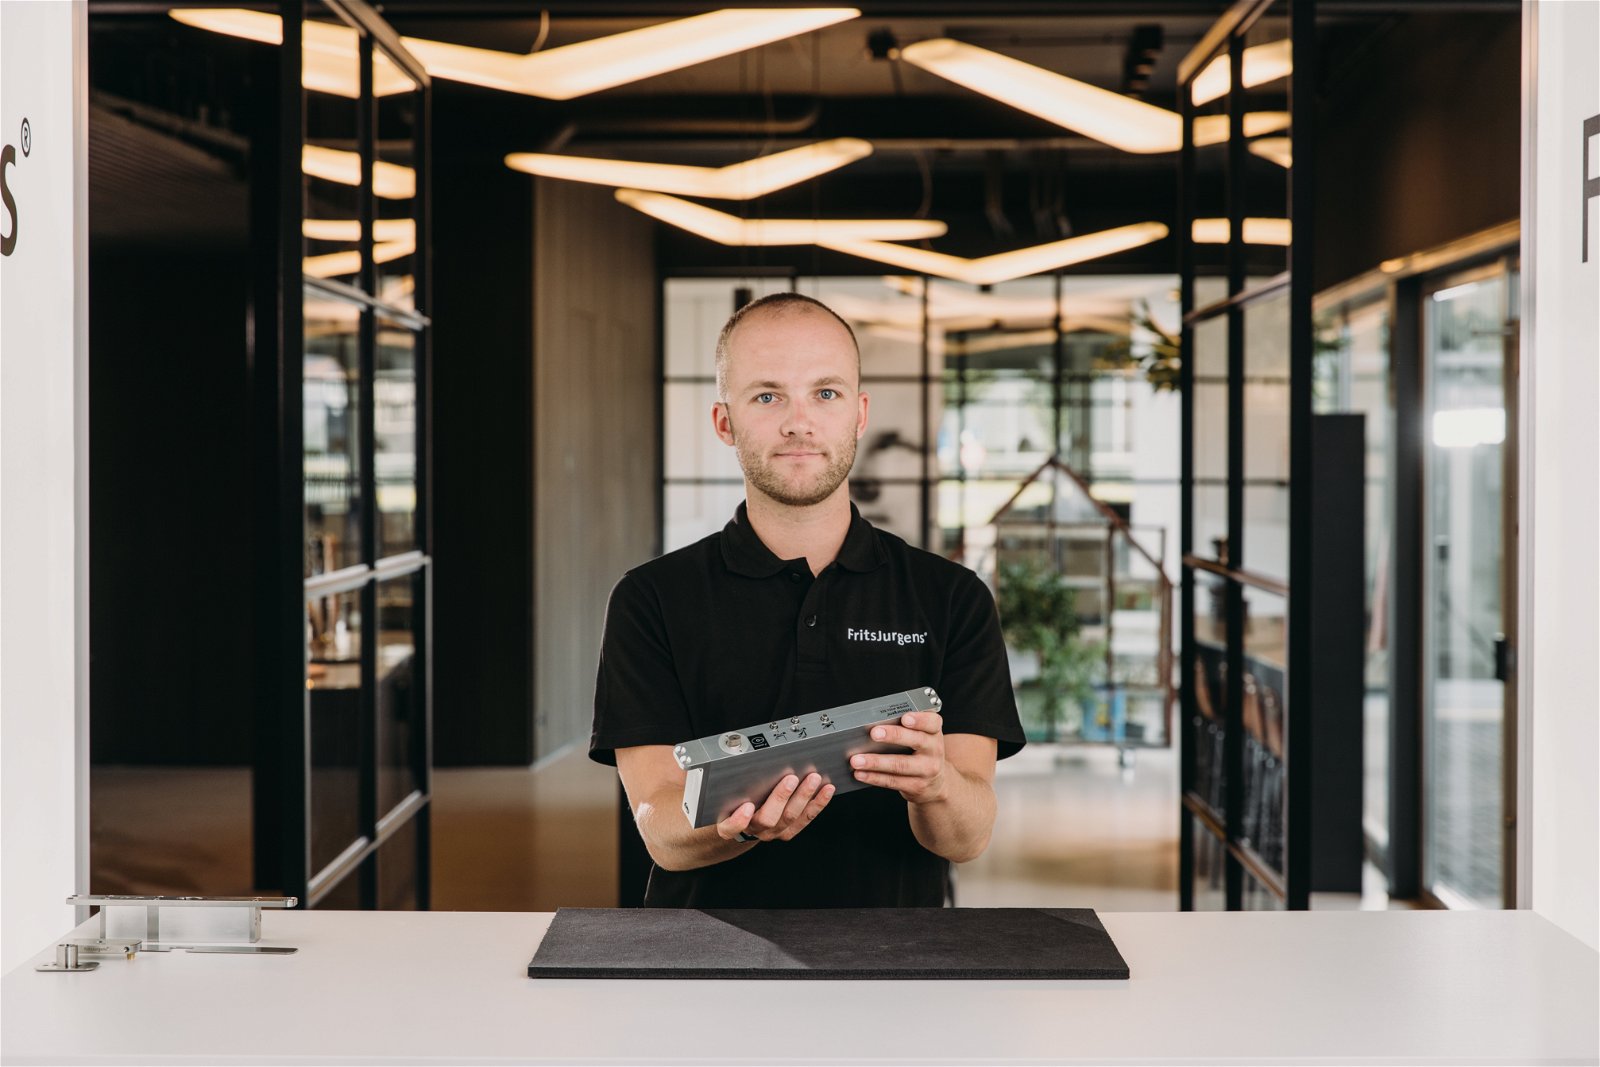
The fact that FritsJurgens pivot hardware is mortised entirely into the door adds to project flexibility and cost savings in terms of project management, since the doors can be fully installed last-minute and within hours or minutes, instead of days or weeks.
If you want to learn how, visit and subscribe to our YouTune channel for the latest FritsJurgens installation content.
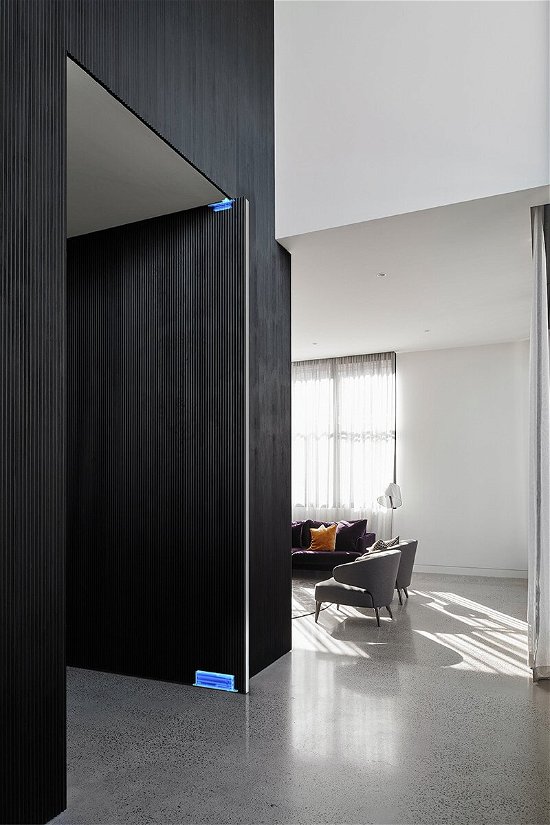
With the addition of a heavy-duty closer function inside your pivot door, you now have a truly transformative design element that can be cast in an endless variety of situations, big and small, offering smooth controlled movement as an extra dimension to the overall design of the door and its surrounding space.
The inherent aesthetic and design opportunities that pivot doors offer architects are certainly a large factor in why pivot doors are so desirable these days. But, equally important to them is the additional freedom and flexibility that these doors bring to the management of their projects.
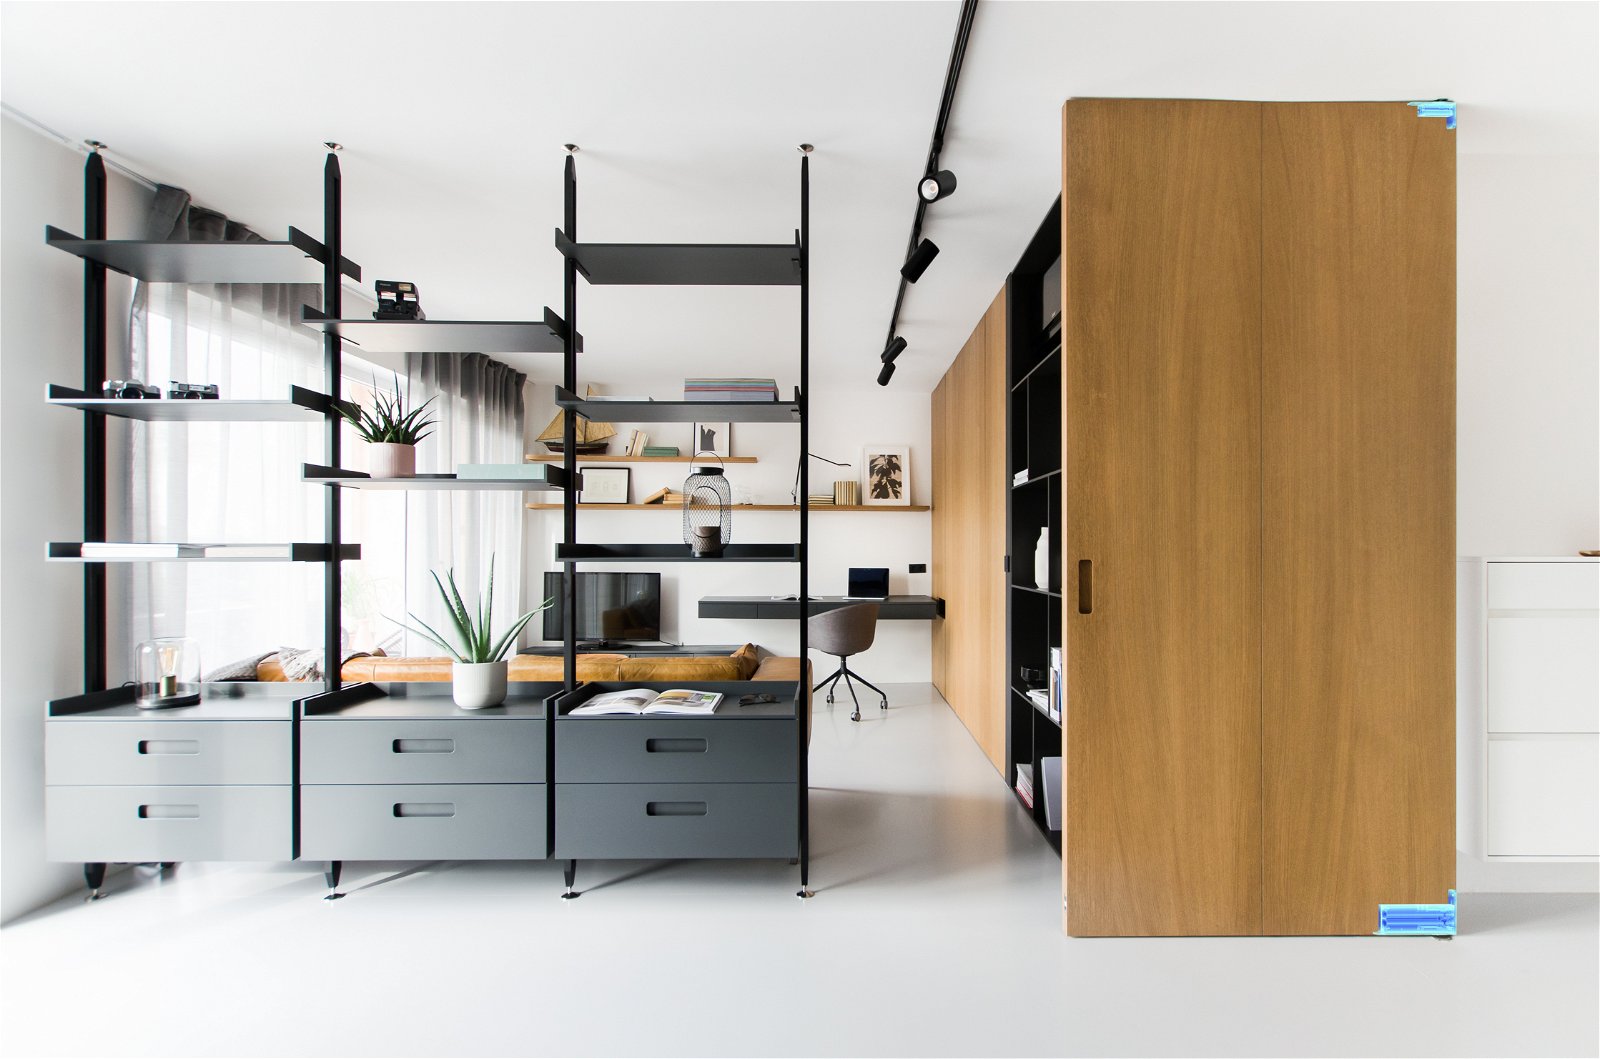
This also appeals to makers and installers of the doors, who are now able to fully design and build the pivot doors in their own shops, mount all the hardware, and have it installed on-site at the very last minute of construction.
Flexible project management and installation
Managing pivot door projects with pre-existing technologies was by no means an easy feat. Significant coordination, planning, resources and complex installations were required to get a pivot door installed correctly, and different trades had to work together perfectly during different stages of the project.
Often, the result was the pivot door being dropped from consideration simply because no one wanted to deal with the complexities around getting the traditional floor-spring closer into the ground. With faulty installations and frequent tear-outs, the pivot door got the reputation as a troublemaker and complex to plan and install. That has all changed now.
With one simple idea, we embarked on the mission to take what was an obstacle for everyone involved and made way for a time-efficient, cost-effective and modern approach to installing pivot doors: put the hardware inside the door. This virtually eliminates the need for coordination between different phases of construction, and provides flexibility around where, when and how to install a pivot door in both new and retrofit projects.
Installing a pivot door with FritsJurgens inside
Hosted by Robin Vos – Product Engineer at FritsJurgens
To facilitate the installation process, we are introducing a new stream of Youtube instruction video’s by our product engineer Robin Vos.
With his technical expertise, Robin explains the installation process in detailed videos, as well as covering all parts of the System M+ product family, the required tools and the fine-tuning process.
Once the most appropriate pivot system has been selected, and the top pivot and pivot system have been integrated into the top and bottom of the door, the door can be installed.
The process slightly differs depending on the chosen FritsJurgens’ hardware, but essentially comes down to four simple steps.
Subscribe to our YouTube channel for more guides, product updates and tips & tricks by Robin.
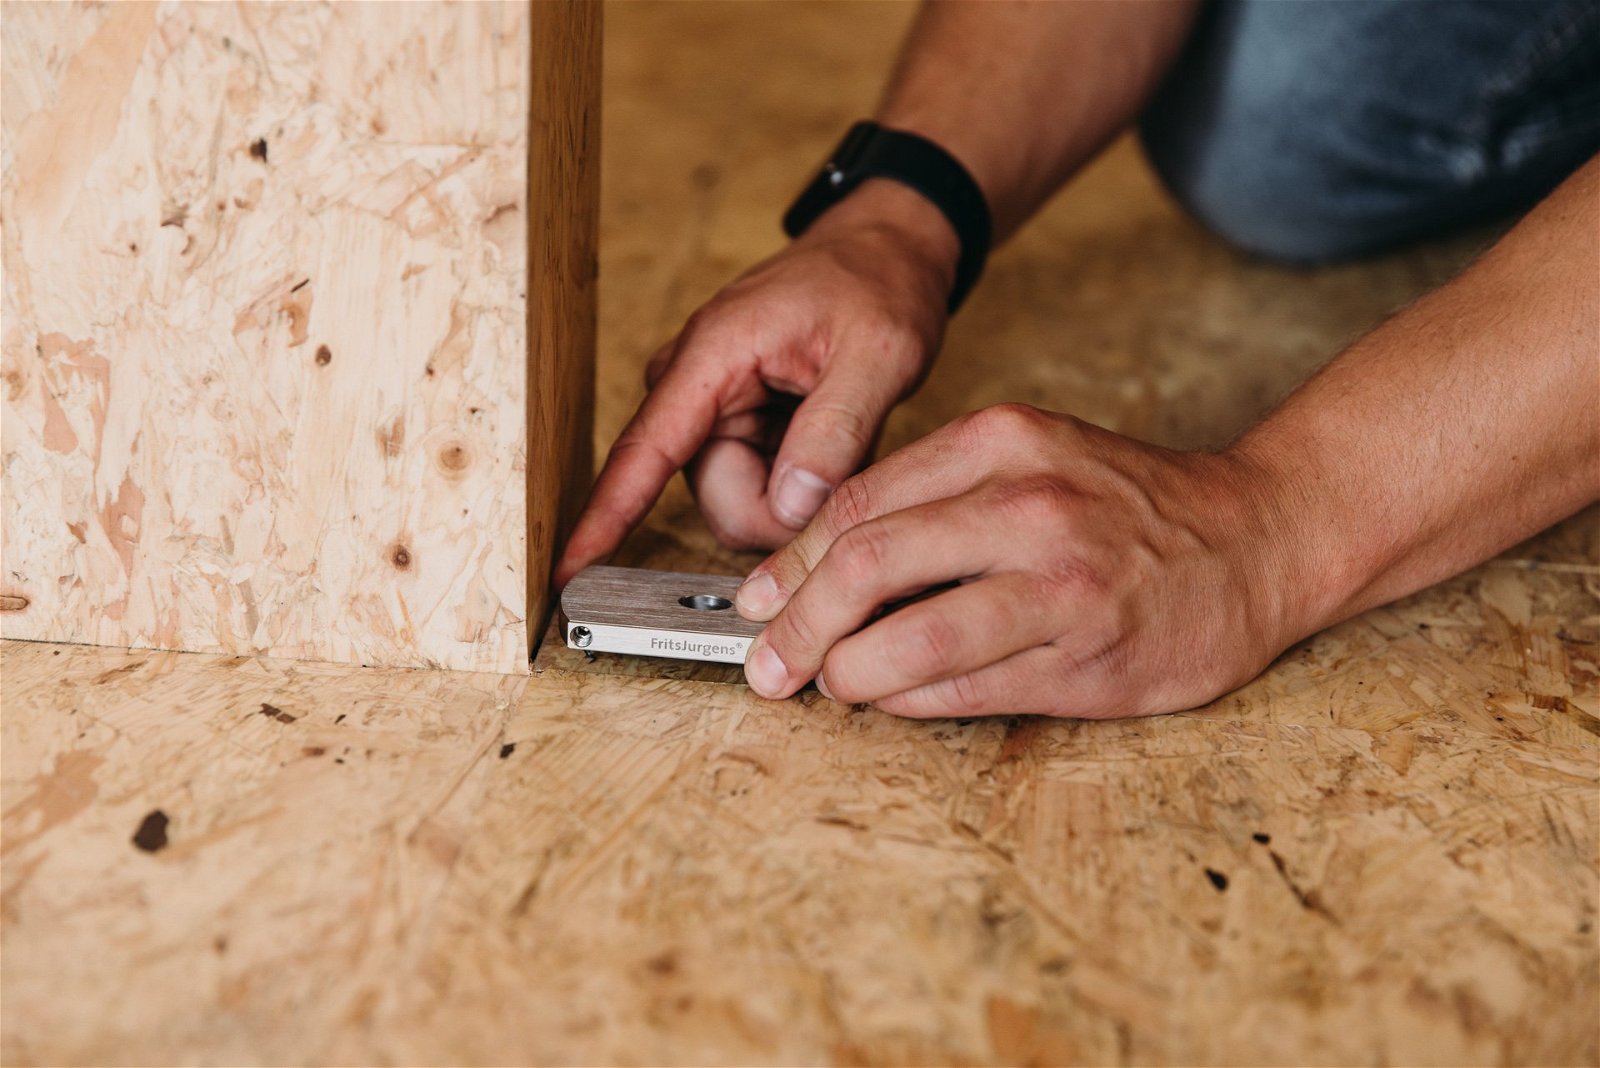
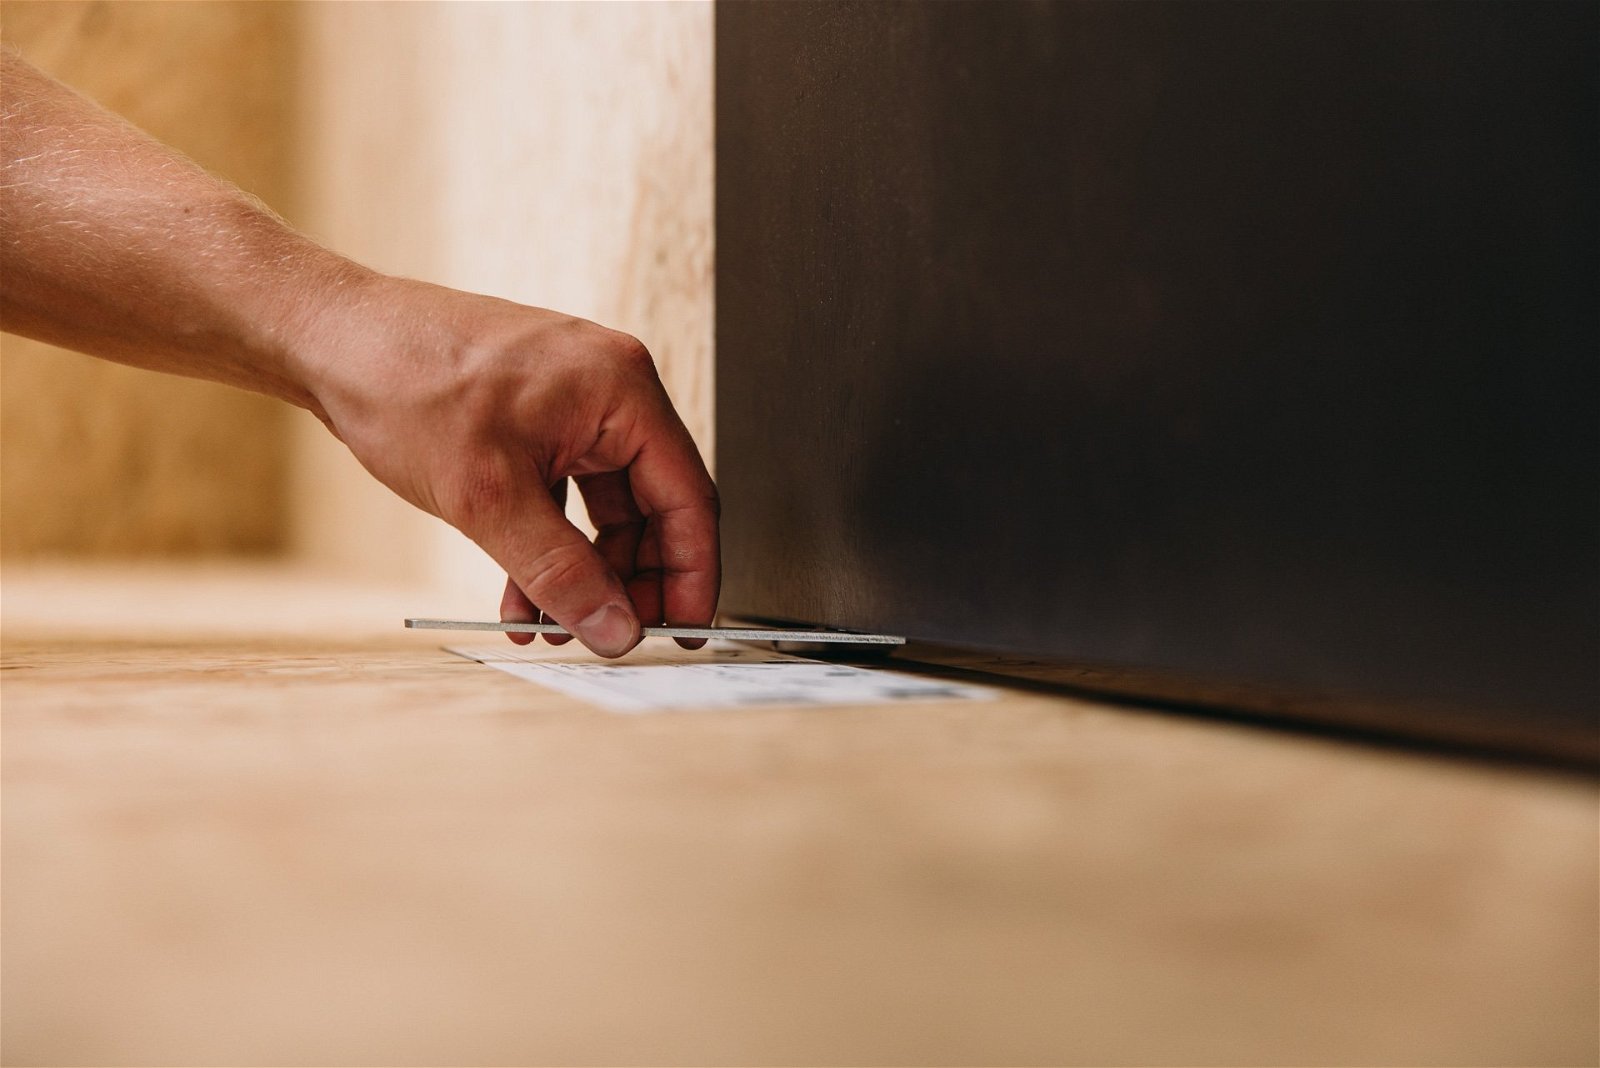
The axis of the pivot system fits in the floor plate, meaning it sets the door in place. To mount it, the milling must first be made in the sill at the correct location. Then, because the floor plate goes into the floor with 8 mm pins, four holes must be drilled 8 mm deep using the right size and type of drill (7.5 mm diameter for wood, 8 mm for aluminium).
Mounting the floorplate on different floor types
After adding glue to the holes and bottom of the floor plate, the piece can be positioned with the help of a rubber hammer. FritsJurgens offers different floor plates – square, round, Flush rounded, Flush square, with a chemical anchor or 30 mm pins – that can be applied on different sills (wood and aluminium) and on different floor types, whether it be in a single floor or between two different floors with an expansion joint. Read more about mounting the floor plate to several floor types in our FAQ.
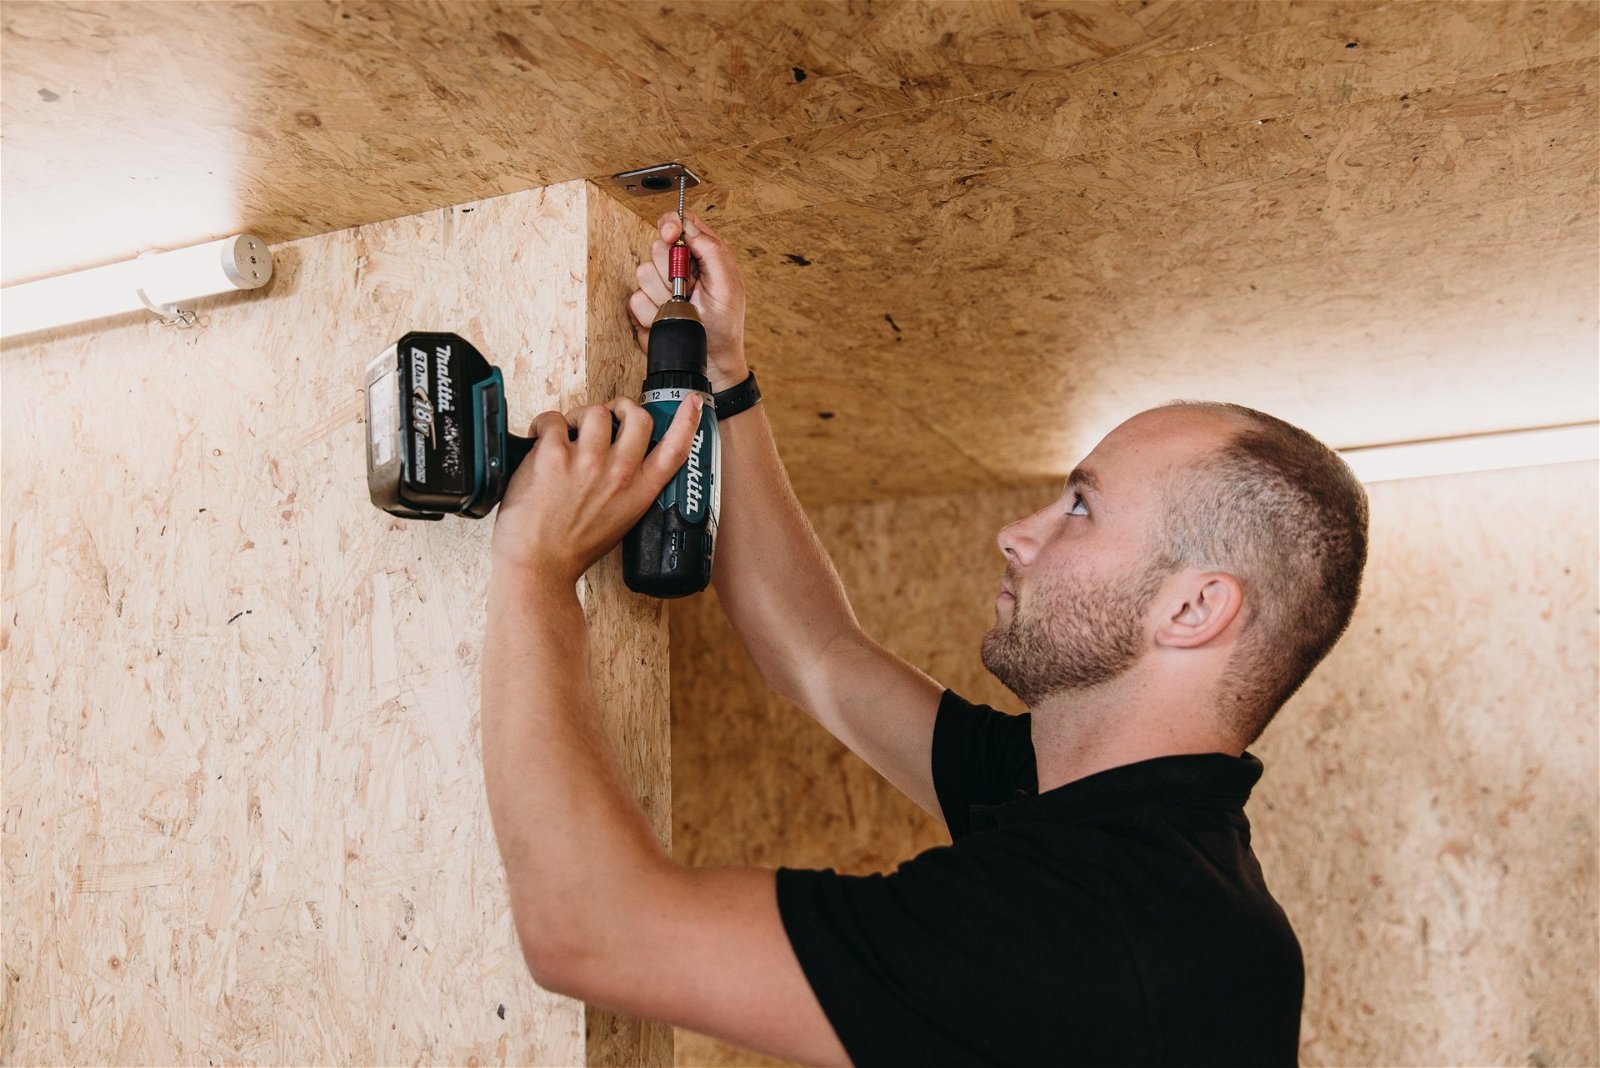
2. Mount the ceiling plate
The ceiling plate guides the spindle of the top pivot into the ceiling to secure the door’s position. After its position is determined with a point laser, a hole is drilled for the tube on top of the ceiling plate, and the screws can be pre-drilled.
The top of the plate is then covered with glue and affixed to the ceiling (screws can also be used for additional reinforcement).
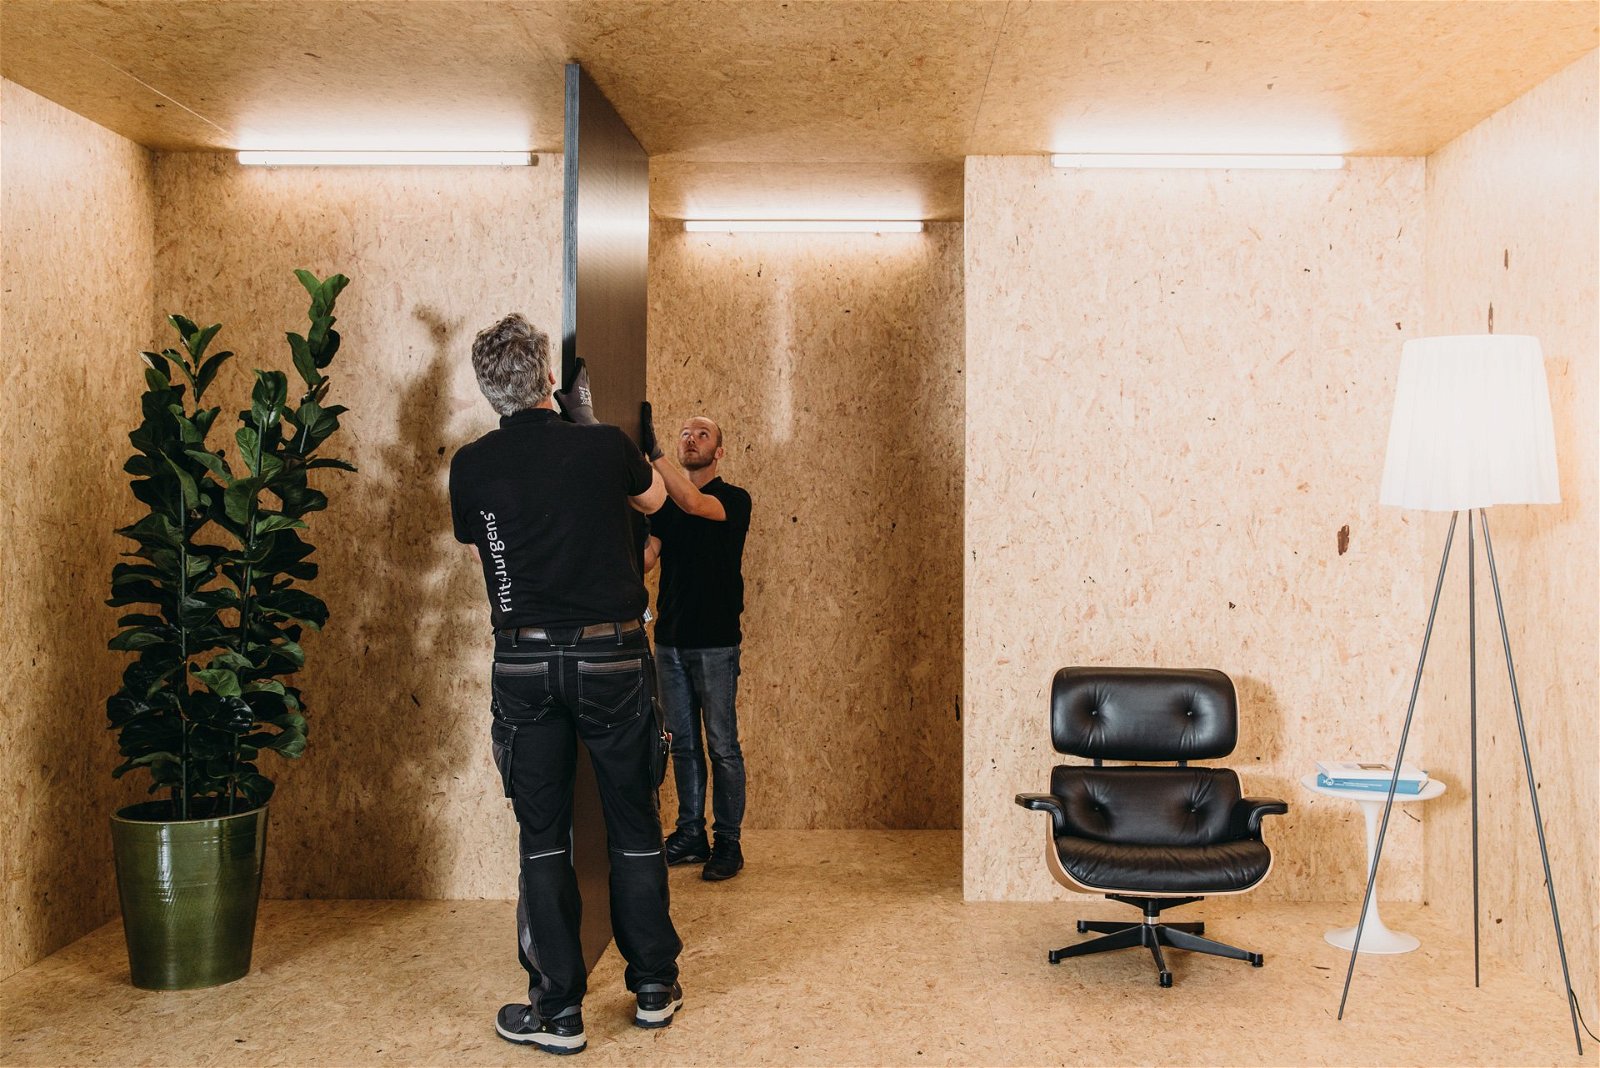
3. Mount the door
The door can easily be mounted by lifting the oval spindle on the System M+ or System M+ into the notch in the floor plate. However, it must be placed in its open position, ideally using an Axle Wrench. When the door is upright and aligned with the ceiling plate, the pin in the top pivot is then unscrewed with the supplied Allen key to fix the door between floor and ceiling. When the pivot point is further than 280mm in your door, use the [Hexagon Guide]. Then, the top pivot is extended by turning the adjustment screw in the bottom hole at the top of the door.
4. Fine-tune the door
After the pivot door is installed, you can adjust its placement until it is perfectly aligned with its surroundings by using the adjustment screws on the FritsJurgens floor plate.
Th adjustment screws on the System M+ that are now on the bottom side of the door allow you to adjust the door’s movement to create a perfectly fluid motion.
System M+ offers the possibility to adjust the closing speed of the door. System M+ adds to that the options to adjust a wider range of functionalities, such as Latch Control, 30 Speed Control and Damper Control.
How do I select the correct pivot hinge for my project?
Selecting the right system starts with two questions: what door behaviour do you need, and what are the door’s weight and width? System M+ is for self-closing doors with full movement control (Damper Control, 30° Speed Control, Latch Control). System Fx adds strong hold positions at every 90° without self-closing — ideal for doors that must stay open. System One is a free-swing system for minimal, maintenance-free applications. Once the system is confirmed, door weight and width determine the weight class. Use fritsjurgens.com/selector for a step-by-step recommendation and instant quote.
Where can I find helpful and easy to use installation resources?
Via our YouTube channel you can view all our installation guides, product updates and more technical resources to facilitate the installation process. For downloading technical documentation, milling manuals and other installation resources, please visit our download page.
How do I determine the gaps around my door?
To determine the gaps around your door, please review our instruction video. You can also calculate the gaps using our FritsJurgens gap calculator to determine the gap at the side.
How do we reset the pivot door’s movement?
This procedure applies to FritsJurgens System M+. To reset to factory settings: close all adjustment screws fully (turn clockwise until you feel resistance), then open each screw by turning towards the tortoise icon until you feel slight resistance. From there, adjust in the correct order: 30° Speed Control first, then Damper Control, and Latch Control last. Adjustment videos are available at fritsjurgens.com/pivot-door-installation-video-manual. For System Fx and System One (fully mechanical), there are no hydraulic adjustments — contact service@fritsjurgens.com if you are experiencing movement issues.
What do we do when my pivot point is located at more than 230 mm from the side of the door?
In that case, you will need a tool called the Hexagon Guide. This accessory guide helps to create a durable chase in the top of the door that helps the allen/hex key reach the spindle and adjustment screws in the top pivot.
What do we do when the floor is not a regular floor?
FritsJurgens works through a global network of authorised distributors and hardware resellers. Find the nearest point of sale at fritsjurgens.com/where-to-buy. If your country is not listed, contact info@fritsjurgens.com and we will connect you with the appropriate distributor for your region.